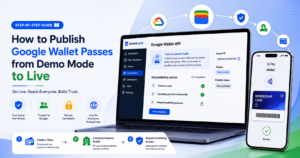
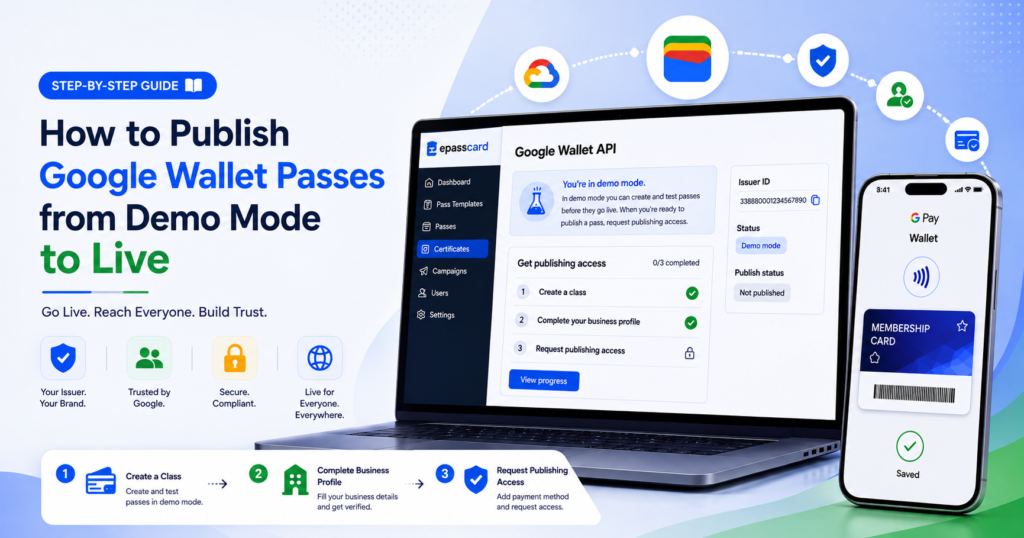
To publish Google Wallet passes from demo mode to live: Go to Google Pay & Wallet Console → Google Wallet API → Get publishing access. Complete the 3-step checklist: (1) create a Wallet class, (2) complete and get your business profile approved, and (3) request publishing access. You may also need to add a payment method. Once Google approves, your passes go live for all customers.
After you connect your own Google Wallet service account and Issuer ID in EpassCard, you can create and test passes. Many Issuers still see this banner in Google Pay & Wallet Console:
You're in demo mode.
In demo mode you can create and test passes before they go live. When you're ready to publish a pass, request publishing access.
Demo mode is not the same as "fully live." Until Google grants publishing access, your Wallet cards remain limited for real-world distribution.
This guide explains:
- What demo mode means for you and your customers
- What Google requires to go live
- How to complete business profile, payment method, and publishing access
- How this relates to EpassCard
- A practical checklist before you launch
Why This Matters
If you skip publishing:
- Passes may work only for test accounts or limited audiences
- End customers can hit unexpected save/install restrictions
- Your team may believe everything is "production ready" when Google still treats the Issuer as demo
Demo Mode vs Live — Plain Language
Here is a clear comparison of what you can and cannot do in each mode:
| Feature | 🔒 Demo Mode | ✅ Live (Publishing Approved) |
|---|---|---|
| Create passes via API / EpassCard | Yes | Yes |
| Test with your own accounts | Yes (often with test account setup) | Yes |
| Broad public distribution | Limited / not fully live | Yes |
| "You're in demo mode" banner | Shown | Removed after approval |
| Business profile | May be incomplete | Must be completed & approved |
| Payment method | May be missing | Required when Google asks for it |
| Publishing access request | Locked until prerequisites done | Approved |
Uploading JSON + Issuer ID into EpassCard connects your account. Publishing access is what makes cards live for real customers.
Where You See Demo Mode
- Open Google Pay & Wallet Console
- Go to Google Wallet API
- Look for the blue info banner: You're in demo mode
- Below it, find Get publishing access with progress like
0/3 completed
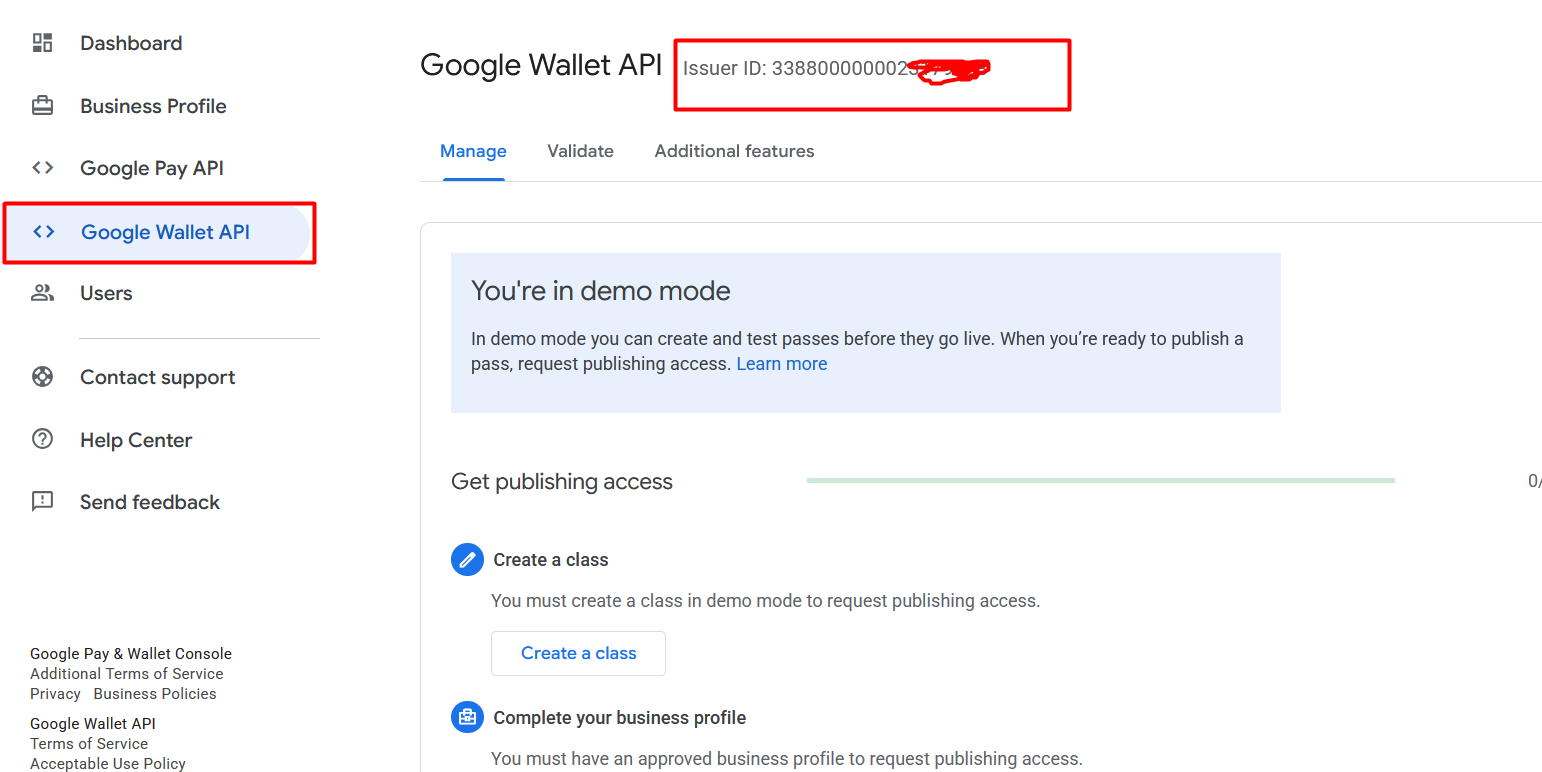
On the same page you will also see your Issuer ID — keep using the same Issuer you uploaded to EpassCard.
What Google Requires to Go Live
Google's console shows a 3-step publishing checklist that must be completed before your Google Wallet passes go live:
1. Create a Wallet Class
You must create at least one Wallet class in demo mode before you can request publishing access.
- Creating a pass/template through EpassCard that results in a class under your Issuer satisfies this requirement.
- If the checklist still shows incomplete, use Create a class in Pay & Wallet Console or create a test pass from EpassCard using your org credentials.
2. Complete Your Business Profile
Your business profile must be filled out and approved by Google before you can go live.
- Open Business Profile in Pay & Wallet Console (or click the Complete business profile button on the publishing checklist).
- Provide accurate legal/business details that Google requests.
- Submit and wait for approval. Review time varies — this is typically the longest step.
3. Request Publishing Access
This step is locked until the first two are completed.
- After class creation and approved business profile, open Request publishing access.
- Submit the request and wait for Google's decision.
- Google may also require a payment method on the account as part of going live.
Step-by-Step: Move from Demo to Live
Follow these 7 steps to move your Google Wallet Issuer from demo mode to fully live:
Confirm Your Issuer ID in EpassCard
- In Pay & Wallet Console → Google Wallet API, copy your Issuer ID.
- In EpassCard → Certificates → Google Wallet, confirm the same Issuer ID is saved.
- On your pass template, ensure Google Wallet Account is set to My organization if you intend to go live on your Issuer (not the platform default).
Create a Wallet Class (Checklist Item 1)
- Stay on Google Wallet API → Manage.
- If Google shows Create a class, follow that flow, or
- In EpassCard:
- Use a template with your org Google credentials
- Create a pass and complete Add to Google Wallet at least once
- Refresh the publishing checklist until Create a class is marked complete.
Complete Business Profile Verification (Checklist Item 2)
- Click Complete business profile (opens in a new tab) or go to Business Profile in the Console sidebar.
- Fill in all required company information accurately.
- Submit for verification.
- Monitor status until Google marks the profile as approved.
- Use your official legal business name and ensure it matches any documents Google requests.
- Incomplete or mismatched details are the most common reason for rejection or delays.
- Business profile approval is often the longest part of going live — plan accordingly.
Add a Payment Method (When Required)
Google may require a payment method on the Pay & Wallet / business account before or during publishing.
- Open account / billing / payments settings in Google Pay & Wallet Console (the exact menu label can vary).
- Add a valid payment method.
- Resolve any failed verification or card issues.
Until the payment method (when required) and business profile verification are done, cards remain in demo mode. Treat this as a required launch gate, not an optional polish step.
Request Publishing Access (Checklist Item 3)
- Return to Google Wallet API → Get publishing access.
- Confirm steps 1 and 2 show as complete.
- Click Request publishing access.
- Submit any additional information Google asks for.
- Wait for approval notification / status change.
- When approved, the demo mode banner should no longer block live issuance.
Set Up Test Accounts While Waiting (Optional)
While waiting for publishing approval, set up test accounts to continue QA:
- On the Wallet API page, use Set up test accounts.
- Add Google accounts that should be able to save/test passes during demo.
- Use those accounts for QA before you go live.
Re-Test from EpassCard After Approval
- Confirm Console no longer shows demo restrictions for your Issuer.
- In EpassCard, create a fresh test pass with org Google credentials.
- Save to Google Wallet on a real device (not only a test account).
- Verify install callbacks / counts behave as expected.
- Only then roll out customer-facing distribution (email, landing page, QR, etc.).
How EpassCard Surfaces This Requirement
EpassCard cannot approve your Google business profile for you, but it warns you that publishing is required at two key points:
-
Certificates → Tutorials → Google Wallet
- The final step shows a required alert about demo mode
- You must acknowledge that publishing access is needed to go live
-
Certificates → Google Wallet tab
- A persistent alert reminds you: cards stay in demo mode until payment method + business profile verification + publishing access are complete
Launch Checklist (Demo → Live)
Use this checklist before you announce your Google Wallet passes to customers:
🔧 Google Pay & Wallet Console
- Same Issuer ID confirmed in EpassCard
- At least one Wallet class created
- Business profile completed and approved by Google
- Payment method added (if Google requires it)
- Publishing access requested
- Publishing access approved
- Demo mode banner cleared / live status confirmed
- Test accounts cleaned up or documented for staging
EpassCard
- Org Google credentials uploaded and validated
- Templates intended for production use My organization Google account
- End-to-end pass create → Add to Google Wallet tested on a real device after approval
- Support team briefed on demo vs live distinction for customer tickets
Frequently Asked Questions
These are the most common questions about moving Google Wallet passes from demo mode to live:
Yes. You can upload credentials, create templates, and test passes (often with test accounts). Do not assume public customers will have a full live experience until Google publishing access is approved.
No. Uploading your service account JSON and Issuer ID connects your Google Wallet Issuer to EpassCard. Publishing access from Google is what makes the Issuer fully live for public use.
Fix the details Google flagged in the rejection notice, resubmit, and wait for re-review. EpassCard cannot change Google's review. Use your official legal business name and make sure all details match any documents Google asks for.
More Google Wallet Publishing Questions
The time varies. Business profile approval is usually the longest step and can take several days to a few weeks. Once your profile is approved and the other checklist items are done, publishing access approval is usually faster.
Usually no. The same service account and Issuer ID work for both demo and live modes. Going live is an Issuer publishing status change in Google Pay & Wallet Console, not a new key type.
Platform credentials follow EpassCard's own Issuer and publishing status. Your organization's demo or live status only applies when you select "My organization" credentials in EpassCard pass templates.
Behavior depends on Google's rules for existing objects and classes. After approval, it is recommended to create a fresh production pass and verify the save and install flow on a real device before mass distribution to customers.
📋 Summary
- Setup — Uploading JSON + Issuer ID into EpassCard connects your account as the Issuer.
- Demo mode — You can build and test passes, but you are not fully live for public customers.
- Going live — Requires Google's publishing path: create a class, get business profile approved, add a payment method when required, then request and receive publishing access.
- EpassCard — Shows this as a required alert because skipping it causes real customer-facing issues.